Tutorial Videos
The Grid Method Tutorial
If you wish to use The Grid Method to draw out your portrait’s outline and proportions before the class starts, or when completing your Weekly Task, then you can use the tutorial video below:
WEEK ONE & TWO.
We begin the course with a look at tonal value and sketching. Using a range of pencils, we will begin our first portrait with The Grid Method to plot out proportions and facial features.
In Week Two, we will use mark making and contrasting tonal value to complete the details in your first portrait of the course.
WEEK THREE & FOUR.
In Week 3 we start your watercolour portrait. We will use either The Grid Method, or free-hand proportions to plot your outline, establish our backgrounds and build the lightest washes.
In Week 4, we will establish darker monochromatic washes before adding detail to the facial features and hair.
Zorn’s Palette Tutorial
Please see the video below for a step-by-step reminder of how to create Zorn’s Palette for flesh tones.
WEEK FIVE & SIX.
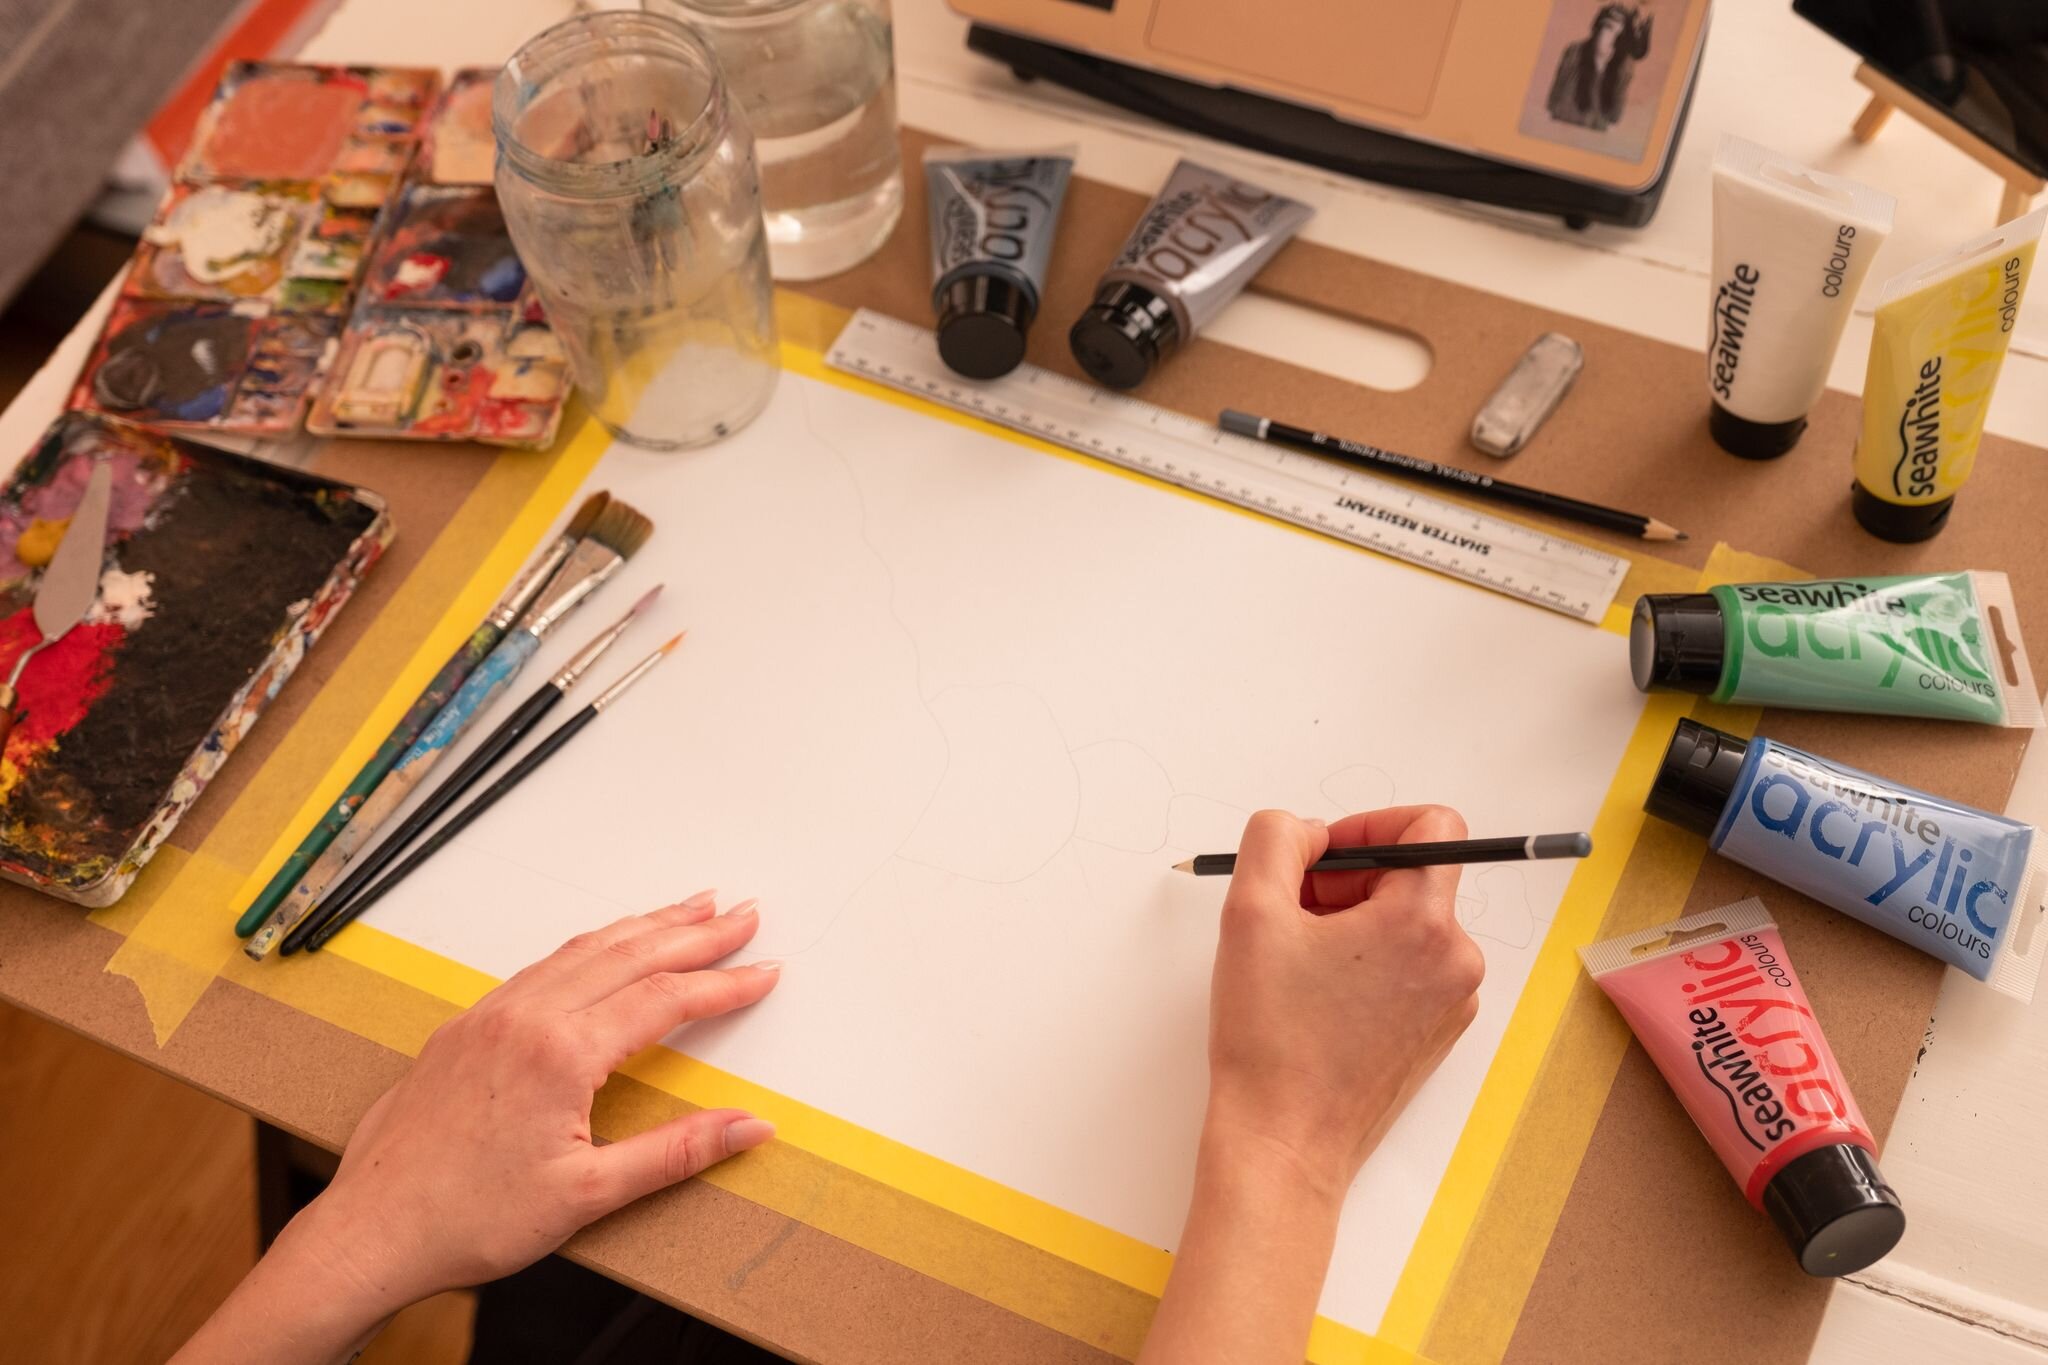
In Week 3, we begin our final portrait of the course using acrylic paint. Use your preferred method to plot out proportions and sketch in your outlines. We will then establish our cool backgrounds and start to build the darkest values.
In Week 4, we finish our acrylic portrait using Zorn’s Palette to build flesh tones and establish the final details.